orpheconsoleVersion 1.0.3
Installation
OrpheConsole
Installation Guide
Install the OrpheConsole package on an OrpheConsole device running an OpenWrt-based operating system.
Prerequisites
- OrpheConsole hardware device
- Stable WAN internet connection
- Laptop or PC with an Ethernet port
- SSH terminal, such as Terminal or PuTTY
.ipkinstallation packages
1. Download the Installation Package
If you purchased OrpheConsole hardware, contact us to request the latest software package.
Extract and open the downloaded folder. It contains:
- OrpheConsole
.ipkinstaller for ARM64 - LuCI UI plug-in
.ipk

2. Configure the Device Network
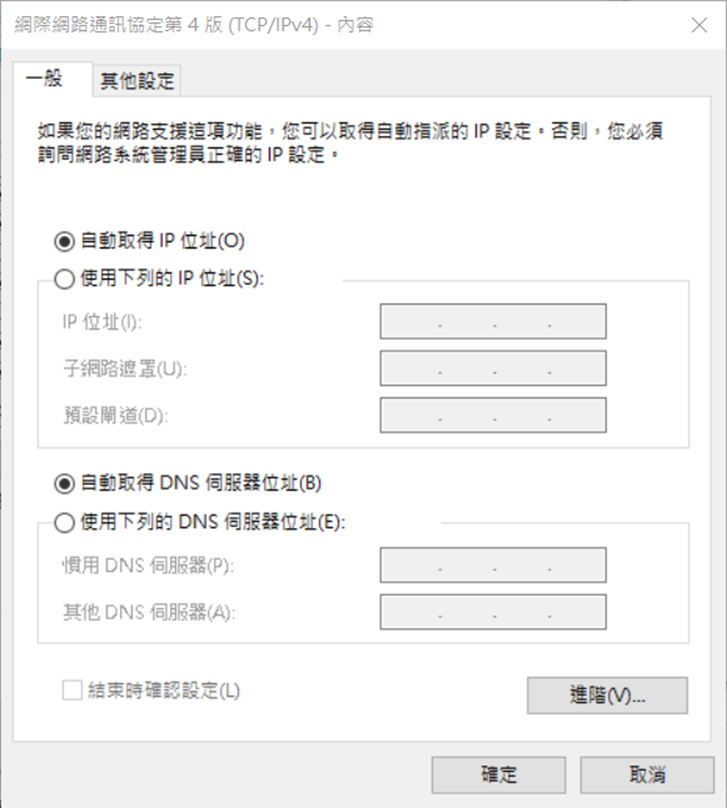
- Configure the Ethernet interface on a laptop or PC to obtain an IP address automatically through DHCP.
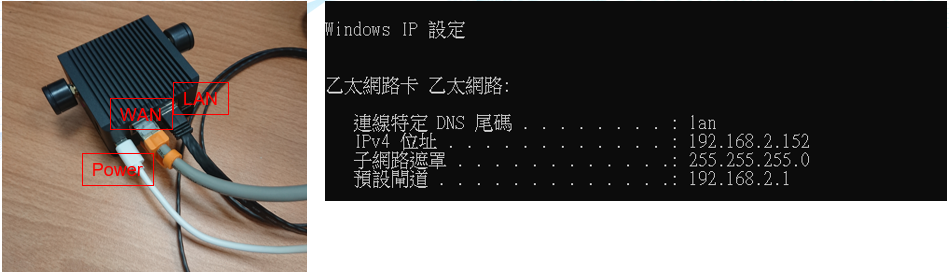
- Power on the OrpheConsole hardware device.
- Connect the WAN port to the internet.
- Connect the LAN port to the laptop with an Ethernet cable.
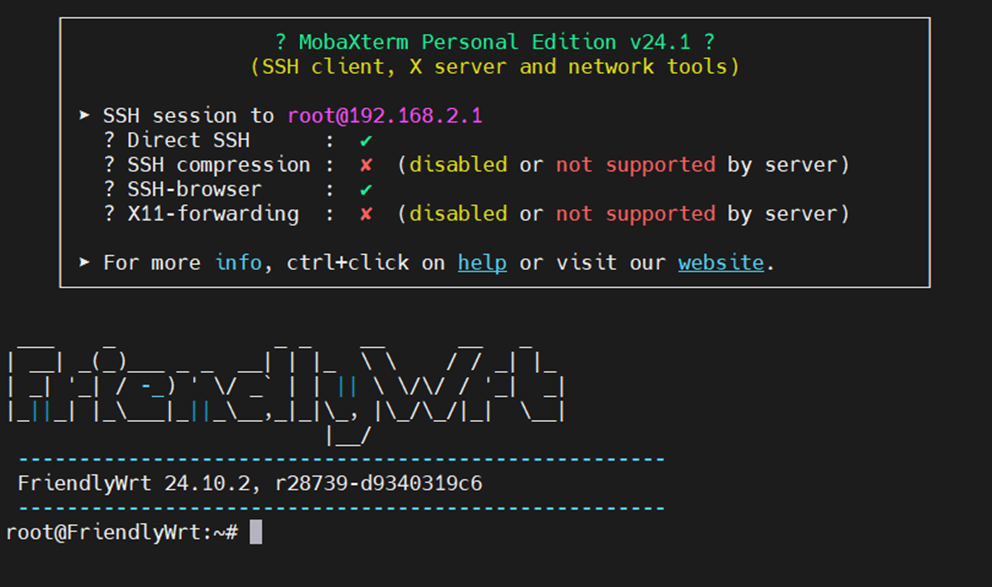
3. Access the Device Through SSH
ssh root@192.168.2.1
Default credentials:
- Username:
root - Password:
password
!TIP Change the default password after installation.
4. Upload the Installation Files
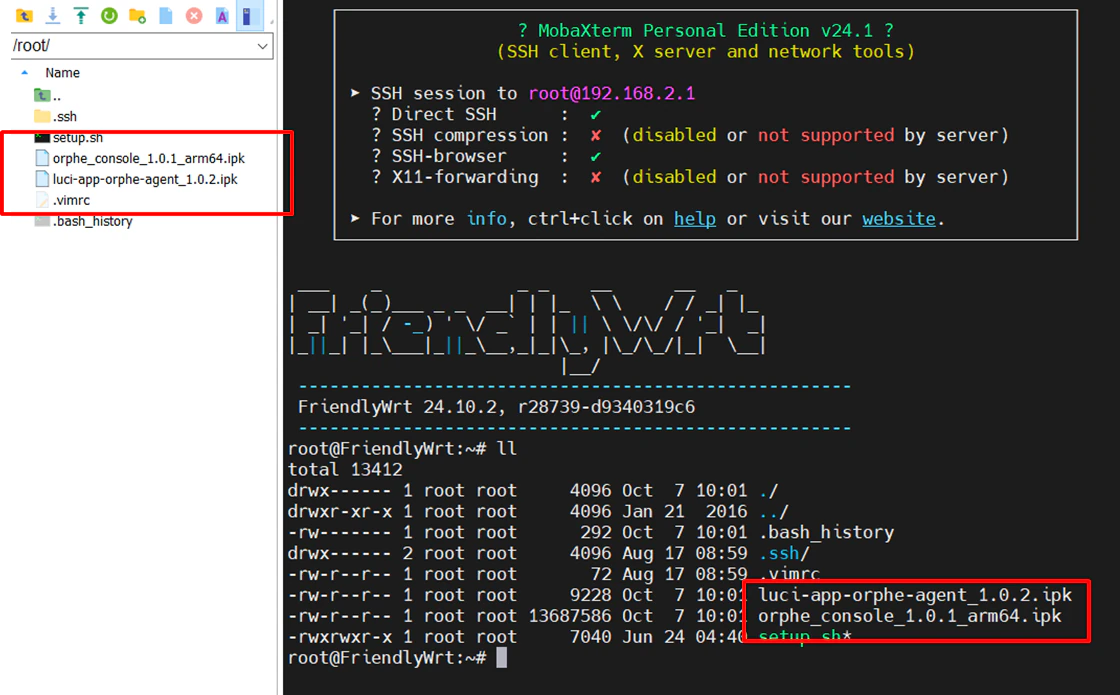
Upload the .ipk files to the device, for example to /tmp/, using SCP or WinSCP.
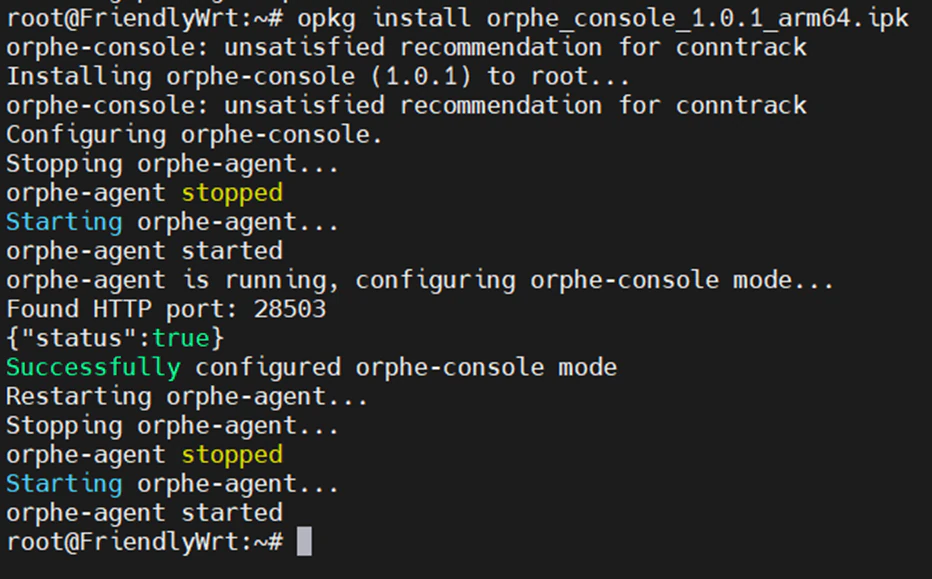
5. Install OrpheConsole
opkg install orphe_console_1.0.4_arm64.ipk
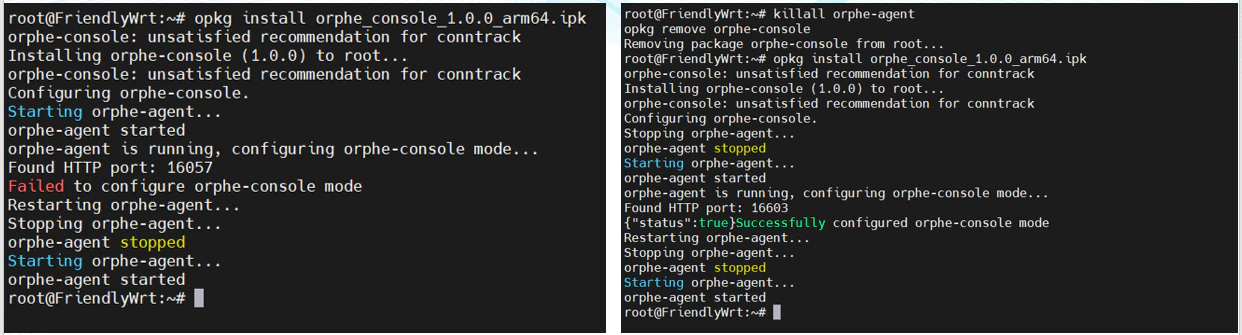
If installation fails because an existing installation is detected, run:
killall orphe-agent
opkg remove orphe-console
opkg install orphe_console_1.0.4_arm64.ipk
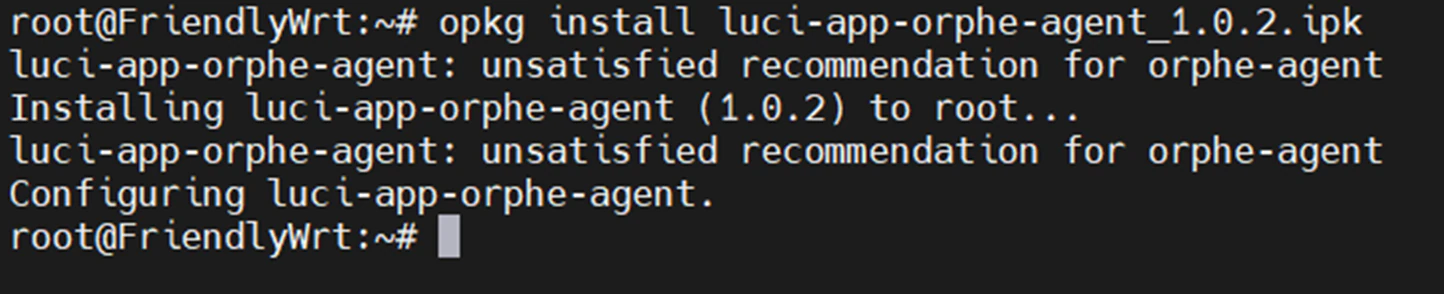
6. Install the LuCI Web UI Plug-in
opkg install luci-app-orphe-agent_1.0.4.ipk
Installation is complete. Next, provision the device to OrpheLink for management.